
In this article, we discuss the common issues that we encounter when integrating with WooCommerce. Please refer to the listed issues below:
Connection Requirements
To be able to integrate your WooCommerce, we have system requirements that need to be met to successfully connect to QuickBooks Connector:
- WooCommerce version 3.5 or above
- WordPress version 4.4 or above
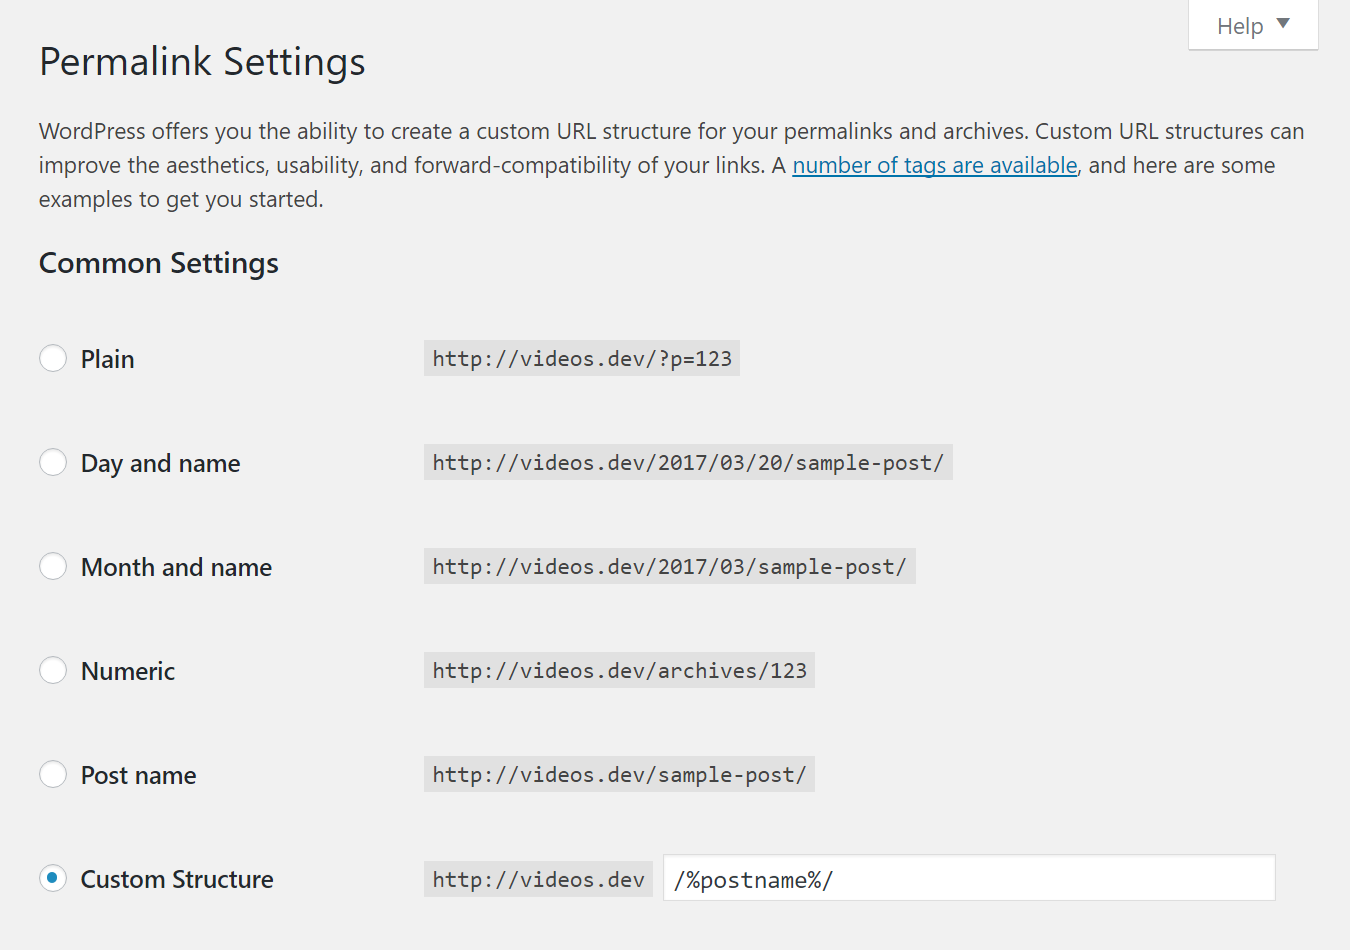
Pretty permalinks in Settings > Permalinks so that the custom endpoints are supported. Default/Plain permalinks will not work.
Domain URL
During the connection process, you will be asked to enter your Domain URL. Do not include /wp-admin extension. Please refer to the sample below:
https://quickbooksconnector.com/
For complete connection instructions, you can refer to our Connect WooCommerce guide.
API Limitation for Custom Statuses
With WooCommerce, if there are Custom Statuses for orders added, it is impossible for us to pull these and use them as a filter within QuickBooks Connector unless the WooCommerce Admin plugin is installed.
The WooCommerce Admin plugin will give QuickBooks Connector the API access to the custom statuses that will be added to the WooCommerce site.
If you do not have this plugin yet, you can read more information on this and download it via this link:
https://wordpress.org/plugins/woocommerce-admin/
How to Enable Pretty Permalinks
Please make sure that any changes will be done with supervision from your web developer.
As per the requirements above, we need to make sure that you have selected Pretty Permalinks since Default/Plain permalinks will not work.
To enable Pretty Permalinks, go to Settings > Permalinks then choose one of the more common permalink structures or enter your own in the Custom structure field using the structure tags.
Any option other than Plain is considered pretty.
WooCommerce APIs are failing with a Cloudflare error.
If you are using a WordPress security plugin (mcfw / Wordfence or similar), you can whitelist this IP range directly in the plugin settings.
How to Whitelist an IP Address in Cloudflare
- Go to https://dash.cloudflare.com
- Log in with your Cloudflare account credentials
Step 2 — Select the Website
- From the dashboard, click on decanterengraving.com
Step 3 — Go to WAF (Web Application Firewall)
In the left sidebar, click Security
- Then click WAF
Step 4 — Open IP Access Rules
Click on the Tools tab at the top
- Scroll down to the IP Access Rules section
Step 5 — Add the Whitelist Rule
Fill in the fields:
-
Value:
[YOUR SERVER IP ADDRESS] -
Action:
Allow
This website (or All websites if needed)- Click Add
Step 6 — Verify the Rule
- The IP should now appear in the list with action Allow
- No restart or deploy needed — takes effect immediately
Step 7 — (Optional) Also Check Firewall Events
If the issue persists after whitelisting:
- Go to Security → Events
- Search for your IP address
- Check what rule is triggering the block (it may be a custom WAF rule, not just IP rules)
- Share that rule name/ID with the developer so it can be adjusted
- If Cloudflare's Bot Fight Mode or Super Bot Fight Mode is enabled, even whitelisted IPs can sometimes be challenged — this may need to be disabled for API traffic under Security → Bots
Comments
0 comments
Article is closed for comments.